Read More http://www.kevinandamanda.com/whatsnew/tutorials/how-to-use-a-cute-font-for-your-blogger-post-titles.html#ixzz1VEKE4Vlj
CLICK HERE FOR FREE BLOGGER TEMPLATES, LINK BUTTONS AND MORE! »

Search This Blog

Showing posts with label classroom pics. Show all posts

Friday, September 2, 2011

As Ready As I'm Going To Be!

 Despite saying I wasn’t going to, I went into my school today (on our day off)  to do even more work in my room.  I’m the type of person who really has to have every item on my to-do list checked off in order to feel content with leaving my room, knowing that the next time I go back, the students will be there.  While I didn’t want to, I’m glad I did go in as I was able to get my work done.  It took six hours, but it’s done. 

So, I have some finished pictures (well, sort of finished- my cell phone was going to die so I snapped some pictures earlier in the day, not right before leaving).

This first one is actually an old picture that I hadn’t posted earlier:

These are “cool down jars that I created after being inspired by a Pinterest picture I found.  The original picture came from the Here We Are Together Blog.  Thanks for the awesome idea!  I put my jar in a container with this little frog stress reliever toy.  When/if one of my students is overly excited or angry, I plan on grabbing the container, and having the student follow me to a quiet corner/table. I will allow them to squeeze the stress frog while they watch all of the glitter settle within the jar. This will give them a little bit of time to calm down and cool down!


So, the other night, a couple of my wonderful colleagues and I were in the hallway, working and talking, when one of our custodians came down the hall with a cart of items heading for the garbage.  One of them was a shelf, while another was a rolled up carpet.  Suddenly, we changed from teachers to American Pickers.  Long story short, my friend now has a new shelf and I have a “new “ carpet.  It is in great shape! I put it in my classroom library area.  Have a look..


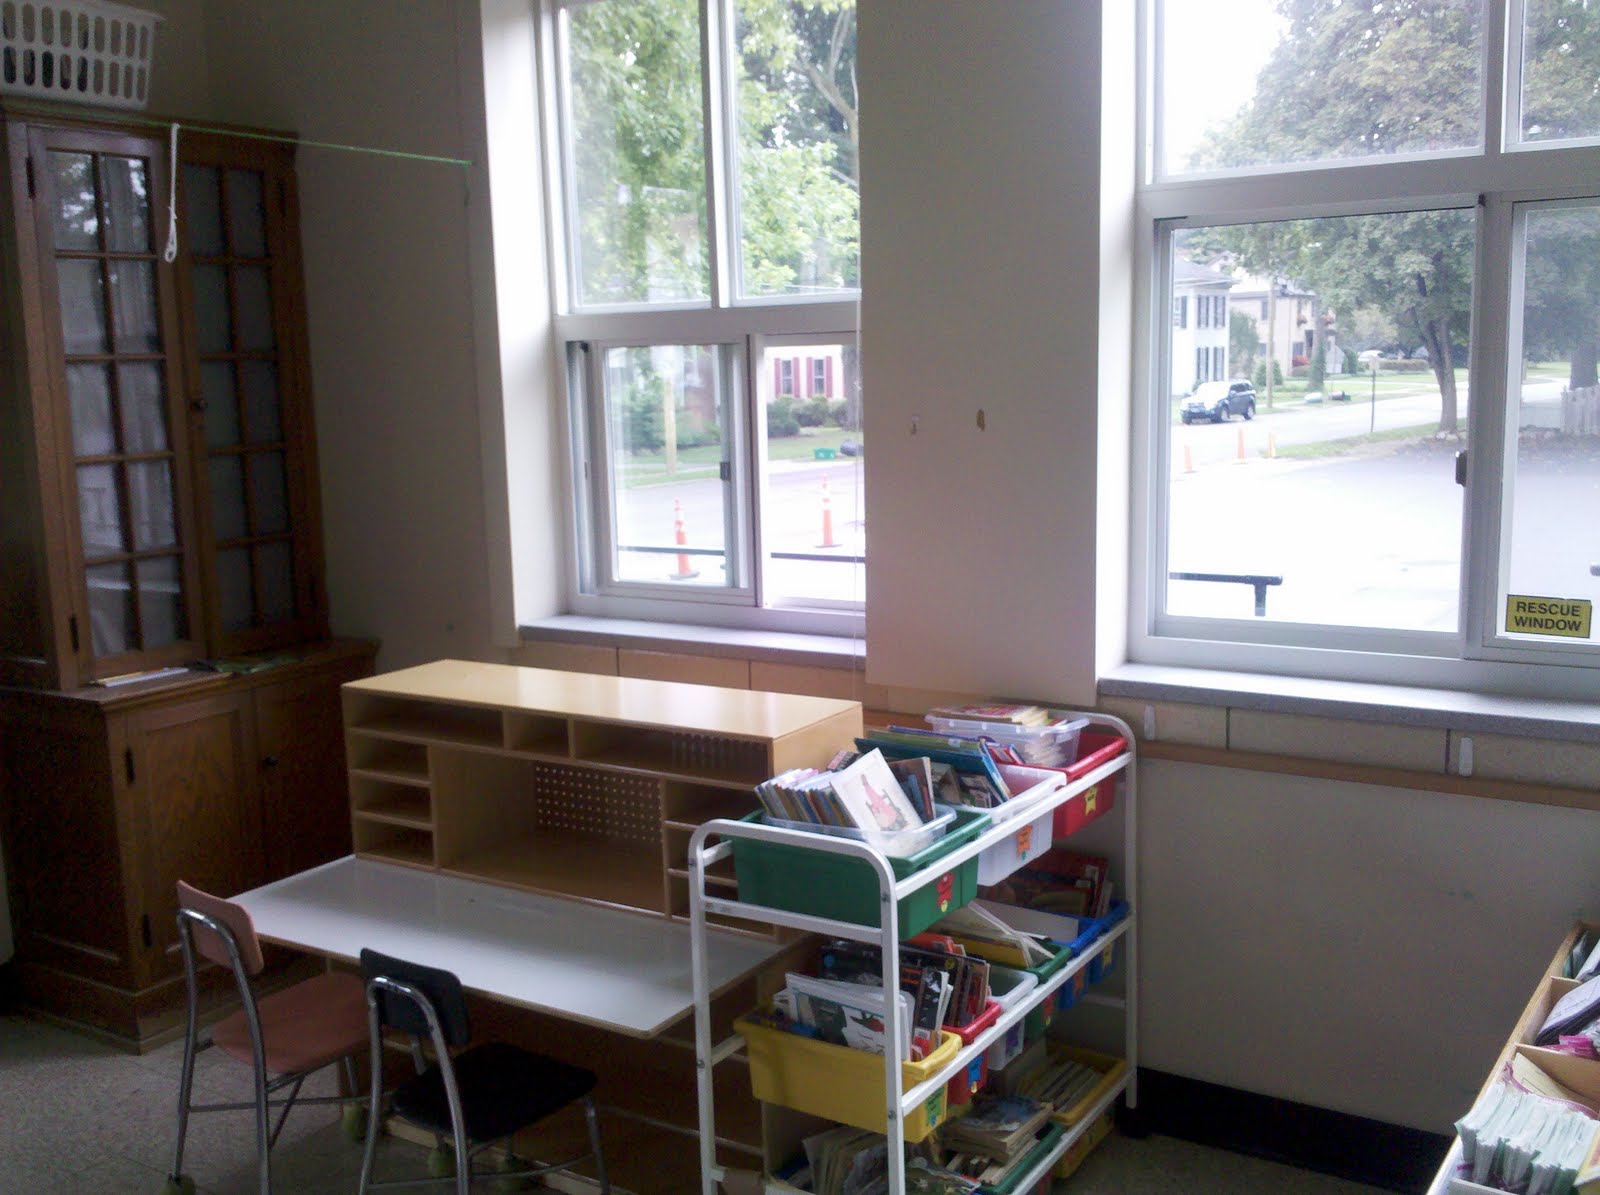
My writing area is still a work in progress but I am okay starting school with it the way it is right now.  On the first day of school I plan on taking a picture of each student while they hold up a mini whiteboard with their name written on it.  I’m then going to laminate the pictures, hole punch them, and put them in the colored  holders in the writing area (one for boys, one for girls).  I still have to create number/number word cards to hang on one of the hooks too.

 Inspired by this picture: 
ashleeraubach3of3.jpg


 Click on the picture to take you to the originator's blog.  


This is my shelf, which is near my classroom door.  When I left today, most of the contents were off of the shelf- it looked neater than in this picture!!  Anyway, you can see my new frog birthday cakes that run along the top of the bulletin board.  Below the birthday cakes there is a jobs bulletin board, my focus wall, my Common Core Standards posters, and my Handwriting Hall of Fame.   There is also a closer picture of the Common Core Standards posters.  I purchased and downloaded them on Teachers Pay Teachers.  I laminated the pages and standards and attached Velcro to each.  I plan on posting the standards that we are addressing each day/week. 


Since changing from desks to tables this year, I used my bookshelf as book cubbies for the children.  Above the cubbies I put the carousel bookshelves that I got from a colleague.  I’ve decided that I am going to put my differentiated literacy lily pad centers in them.  I plan on laminating manila envelopes and putting the center activities in each.  I used clear contact paper to cover lily pad cut outs, which I numbered and attached to each little basket.  On the front of the lily pads, I attached some Velcro.  I then created little flies, which I also attached Velcro to.  If the activity is more of a below level activity, I will put one fly on the lily pad, if it is on-level, I will put two flies, if it is advanced, I will put three.  We will see how it works.  I may need to change things.


This is a shot of my Morning Meeting area.  In the picture you can see my finished supply bins, my calendar, and my shelving unit for the students’ Morning Meeting binders.  I’ve provided my morning meeting sheet for you to see/use below. 
Calendar Books
Morning Meeting Cover


This is the other end of my Morning Meeting area. You can see my Morning Meeting board and my art center. 


This is a shot of the room from my coatroom.  I love all of the space that I have now that I have switched from desks to tables.


I decided to decorate my desk a little.  I still think it is a little bare.  I think I am going to add a couple of pictures of my animals.


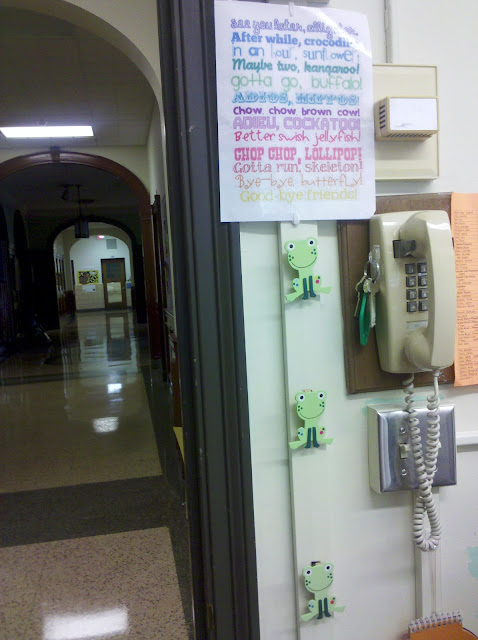
This too is a Pinterest inspired creation.  I created these cute frog clips and “Velcro-ed them to the wall near the door.  When students send notes about early dismissal, I always have to send them (the notes) to the office.  I then have to write myself a reminder note.  I figured that this would be a great place to clip them.  I plan on keeping all of my reminder notes as well!  Document, document, document!! I think I am going to create a flip chart with empty envelopes, with a month written on each. I’m just going to put each note in the appropriate envelope. 

  In this picture you can also see the, “See You Later Alligator poem that I printed (after- again- seeing it on Pinterest).  I thought it would be a good community building activity to take turns saying each line at the end of each day. 


See-You-Later-Alligator.jpg
Click the picture to take you to the original blog and a printable version!! 


Lastly,  this is my new schedule bulletin board.  I feel like this is one of the things that I change every year.  I never love each year’s bulletin board enough to repeat the next year.  I do however, like the clocks as the students can match the time up with our classroom clock.  I guess we will  have to wait and see if this one lasts to live another year, next year. 


The only picture that I am missing is  the picture of my finished math tubs.  They too are differentiated like my literacy lily pads.  There are two bins with 3 flies, two bins with two flies, and two bins with 1 fly.   I will post that picture soon!

Next week will be busy but I will try to post about our first few days!!  I’m so excited! 

Wednesday, August 24, 2011

It's Been A Little While!


Well, wouldn’t you know that I got a large chunk of my bulletin boards done today, yet, my cell phone died in the process. Therefore, I wasn’t able to snap any pictures of those.  I will be sure to grab some tomorrow!  I did have this picture to post from the other day though:


 I made this valance with the left over fabric from my crate chairs and guided reading table.  I was too impatient to go home and pull out the sewing machine (which I still haven’t used since inheriting it from my husband’s grandmother) so I used my “No Stitch” glue and sealed the top and bottom of the fabric.  I then used a large dowel and a couple of pencils instead of going out and buying a suspension rod. I threaded the dowel through the valance and then used some of those 3M hooks to hold it up.    I love how it turned out!

                             I also wanted to share these:


Has anyone every used these before?!?!?! 

   My wonderful husband came home with these for me today! Such a sweetie! Apparently they were in the $1 bin at Office Max today.  I used them to address my Welcome Back to School Letters.  They are a lot of fun to write with.  I will definitely be putting these in my writing center.  I love Crayola! 

Saturday, August 20, 2011

Frog Themed Room Pictures


As promised, below I have posted pictures of my classroom with the new pond-like décor that I purchased. 


Lastly, here is the finished guided reading table.  I think it looks much better with the curtain around it.  I also stapled a ribbon across the cushion of each crate, which makes it easier to lift the lid off.  


If you enjoyed checking out these classroom photos, be sure to visit the Teaching Blog Addict Classroom Photos Linky Party to see other classrooms pictures.  Click the picture below to get there! 

classroom+link+party+pic+small.jpg


Thursday, August 18, 2011

The Fun Continues


  After helping my friend set up her computers in her room, I made my way to my classroom.  Little did I know, that process was going to take me about 20 minutes.  I stopped along the way to say hello to my eager teacher friends who all had the same idea I did get to the school and get some work done! 

  Anyway, I finally got to my classroom, opened the windows, turned on Pandora, and thought, where in the heck should I start?!?!? 

   This is my first year as Mrs. Wolf.  After getting married last April, I received my new nameplate.  Unfortunately, I wasnt able to get it attached to my door before I left.  When I returned to my room earlier in the week, I noticed it was attached, however, they left a big gap between the room number and my name.  No offense to those who put it up, but my OCD self would be bothered by it for a long time unless I fixed it.  Therefore, I pulled out my little toolkit and fixed it.  I realized a long time ago that if you want something done right, you need to do it yourself (at least things you know how to do)!   Its official :


Another accomplishment today was filling my crate chairs with guided reading materials.  Following with my frog theme, I created these Leaping Learning Tubs.  When the students come to the guided reading table, they can pull out these tubs and be ready to learn.


I havent finished putting in all the items yet however, so far I have included a dry erase board and eraser (the students have their own markers), a frog finger puppet for retelling stories, a monster finger for pointing to words, a reading phone, and highlighting tape.  I plan to add a bookmark with all of our reading strategy animals on it as well.  I may add more things as I think of them.


Heres also a peek of my daily organization trays:


I stopped on my way home to get some fake cattails and ornamental grass to put up near my windows as a way to further portray the pond-like atmosphere.  Stay tuned for pictures!!
  

Tuesday, August 16, 2011

Let the Fun Begin.....


Day One- I was finally able to get into my classroom and get some work done.  When I say, “Get some work done, I actually mean, check to make sure all of my things are still in my room and move my furniture around. 

  When I left last June, the last thing on my mind was, “How do I want to arrange my furniture for next year.  Therefore, it was number one on my to-do list.  I couldn’t complete anything else without knowing where I wanted things to be placed. 

   I walked into the room to see this giant mountain of school items piled on my counter..


   Over the summer I was in communication with my administrators as I wanted to trade my student desks for tables.  I had been using desks for the past 3 years but wanted to change things up a bit.  After getting the approval, I was eager to get to the room to see which tables I was getting.  Was I ever surprised to go in and find 3 long tables ALONG WITH all of my classroom desks. 


My large room suddenly looked really small.  So, first thing was first, get the desks out!  I piled them up and then looked at the room I had to work with.  I have to tell you, I am thrilled with how much more room I have now that I did away with the desks.  Honestly, while the desks are nice for storage, I find that they cause more grief than benefit.  Plus, now that I have tables, I have room for carpets in front of my SMARTBoard.  Now, I can call the students over to sit in front of the SB for a quick lesson. Afterwards, we can go back to our tables to work. 


Next, I switched my morning meeting area with my library area from last year.  Here is a picture of the new morning meeting area:


And, here is a picture of the new library area:


Next to my non-fiction collection, I placed my listening station/art station.  Now, I really love this piece of furniture, HOWEVER, it is so large and cumbersome.  Due to the fact that the listening station chairs are attached to the back of the art station, you always have to have the piece sticking out from the wall- well, not anymore.  The art station now faces outwards, while the listening station is right up against the wall.  I thought this might be inviting for the students, creating a nook of sorts for them to sit in.  I have placed a little stool near it so the students can easily crawl in and out.  We shall see how this goes.  I am hopeful.


At 2:15, an announcement came on telling us that we had 15 minutes to evacuate the building.  Grrrrr summer hours!   I got to school at 12:30 today and was therefore only able to work for two hours.  Note to self. get to school early!